
Mobile Continuous Integration Using Godot and Azure Devops, Part 1: Testing and Pipelines

Why
I started this task mostly out of my own curiosity, to see how hard it would be to develop a CI/CD for my Godot Project, after encountering the pain of having to do releases for my previous mobile project Shameless Plug!. I also wanted to introduce Test Driven Development (TDD) to the project, partly to improve reliability and confidence in the project’s stability. The main reason, however, was an opportunity to practice writing tests that was not provided in my day job.
This is my first technical blog related to Godot and CI, so I am welcome to changes and improvements that can be made to it. I am documenting it first for myself so when I start a new project all of the steps are here and I can refer to my own documentation
Goals:
- Run tests on every commit
- Automatically produce the appropriate files for releasing to iOS and Android
- Have an automated process pushing those files to the App Store
I assume some level of familiarity with Godot and gdscript in the project, as well as git.
The finished project can be found here
Tools
- WAT. Unit testing framework for Godot. There are other ones out there but this one seemed the simplest and had built-in support for JUnit test results files to be consumed by Azure Devops.
- Azure Devops This tool has a lot of functionality for project organization and development. Allows free us of build machines of up to 2000 minutes a month. Supports MacOS for no extra fee, useful for the iOS builds of the project.
- Google Play Console Required centre for uploading builds to the Google Play Store.
- App Store Connect Required centre for uploading builds to the Apple App Store
Local Project Setup
Godot Project Setup
There is nothing special to setting up the project for CI, create a new Godot project like any other ones. After the project is created, add the WAT add-on from either the Asset Library or download the latest code from GitHub.
Adding the First Test
Once those are setup, add a simple test to give Azure DevOps something to report on. First, create a folder for the tests, then add a new script in that directory wat_test.gd with the following code:
extends WAT.Test

func title() -> String:
	return "Testing Reporting Functionality"


func test_wat() -> void:
	describe("Test that WAT can run successful tests")

	asserts.is_true(true)
Run the tests in the WAT testing panel to confirm that is working.
Adding .gitignore
Before committing the changes, add this .gitignore file to your repository
# WAT Files
metadata.json
results.xml
These files are generated by WAT to show the results of the tests, these will be generated as part of the azure pipeline so they don’t need to exist in the repository
Create and commit these changes to a git repository.
YAML
I usually create a new folder for pipelines called build_data. Add a new file call run-tests.yml. Copy and paste the following code into the file
trigger:
  branches:
    include:
      - '*'

pool:
  vmImage: 'macOS-10.15'

variables:
  - name: godot_version
    value: '3.3.3'

steps:
  - checkout: self

  - task: CmdLine@2
    displayName: 'Download Godot'
    inputs:
      script: |
        wget https://downloads.tuxfamily.org/godotengine/$(godot_version)/Godot_v$(godot_version)-stable_osx.universal.zip -O $(Agent.TempDirectory)/godot.zip


  - task: ExtractFiles@1
    displayName: "Extract Godot executable files"
    inputs:
      archiveFilePatterns: '$(Agent.TempDirectory)/godot.zip'
      destinationFolder: '$(Agent.ToolsDirectory)'


  - task: CmdLine@2
    displayName: 'Run Tests'
    continueOnError: true
    inputs:
      script: '$(Agent.ToolsDirectory)/Godot.app/Contents/MacOS/Godot addons/WAT/cli.tscn run=all --verbose'


  - task: PublishTestResults@2
    inputs:
      testResultsFormat: 'JUnit'
      testResultsFiles: 'results.xml'
I will now go through it section by section:
trigger:
  branches:
    include:
      - '*'
This tells azure devops to run the trigger every time new code is pushed to azure devops. This notifies you if any errors in tests come up when pushing code, catching them before they fester too long.
pool:
  vmImage: 'macOS-10.15'
Run on machine using MacOS, this isn’t necessarily required for this step, Godot runs just fine on other operating systems, but I use this as the goal is to build iOS apps later on.
variables:
  - name: godot_version
    value: '3.3.3'
Define the godot version as a variable to allow for an easy time updating the version if required
steps:
  - checkout: self

  - task: CmdLine@2
    displayName: 'Download Godot'
    inputs:
      script: |
        wget https://downloads.tuxfamily.org/godotengine/$(godot_version)/Godot_v$(godot_version)-stable_osx.universal.zip -O $(Agent.TempDirectory)/godot.zip
Checkout the code from the git repository, and then download Godot to the vm. It is used to run the tests from the command line and build the project for different platforms later down the line
  - task: ExtractFiles@1
    displayName: "Extract Godot executable files"
    inputs:
      archiveFilePatterns: '$(Agent.TempDirectory)/godot.zip'
      destinationFolder: '$(Agent.ToolsDirectory)'
Extract Godot to a place where it can be used from the command line later on.
  - task: CmdLine@2
    displayName: 'Run Tests'
    continueOnError: true
    inputs:
      script: '$(Agent.ToolsDirectory)/Godot.app/Contents/MacOS/Godot addons/WAT/cli.tscn run=all --verbose'
Runs the tests from the command line. This uses the standard command line command on WAT’s readme page. This generates a results.xml file which will be used in the next and final step.
  - task: PublishTestResults@2
    inputs:
      testResultsFormat: 'JUnit'
      testResultsFiles: 'results.xml'
Publish the test results so that they can be viewed in the pipeline results and tracked as metric if desired.
After the file has been added, commit the changes to git so they can be pushed in the next step.
Azure Pipelines Setup
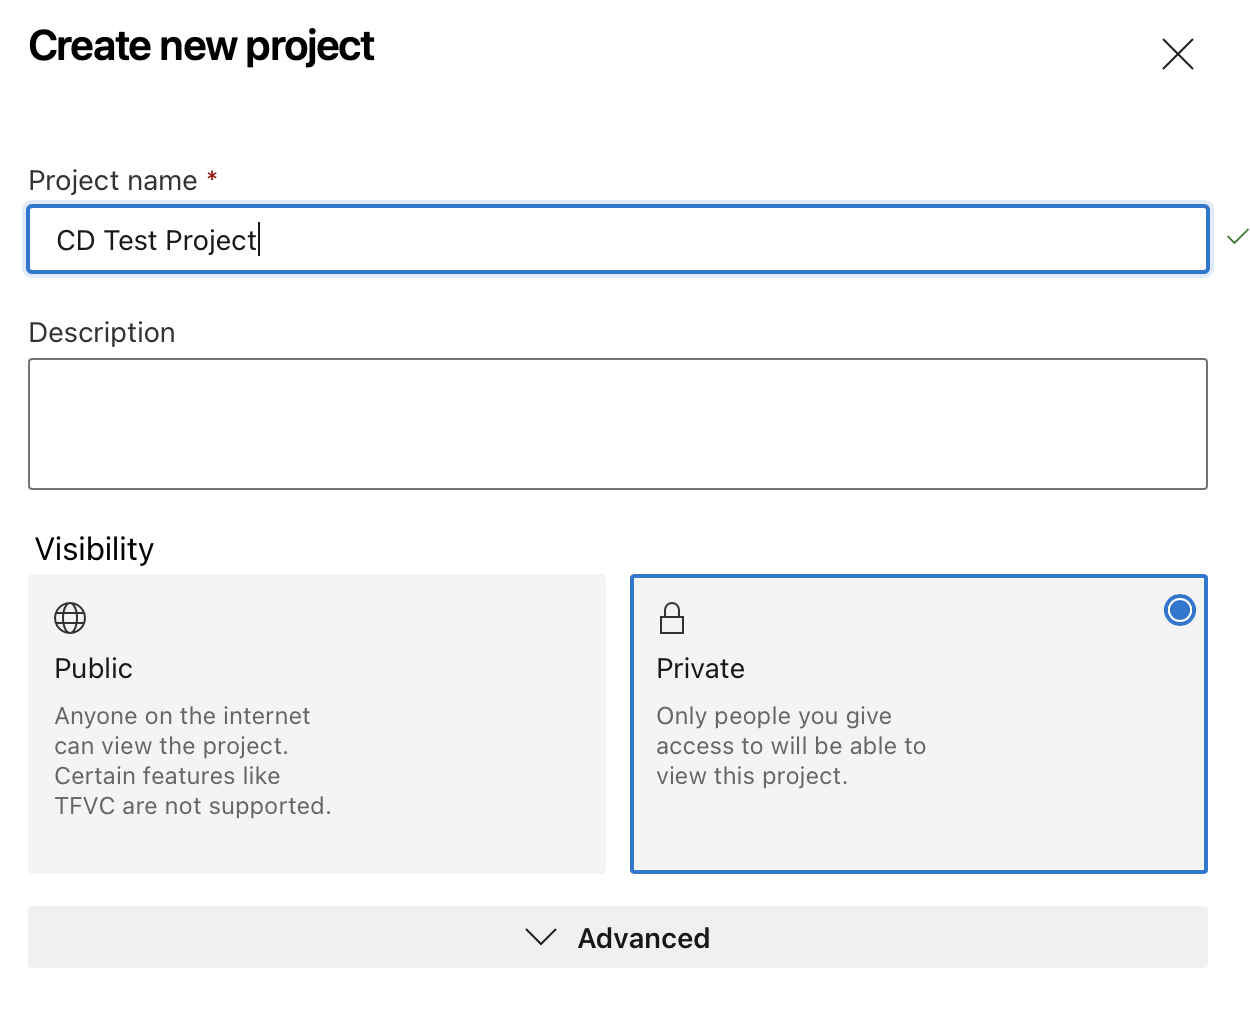
Once your project is setup on your local machine, then you can create the project in Azure Devops. Create an account, and then create a new project:
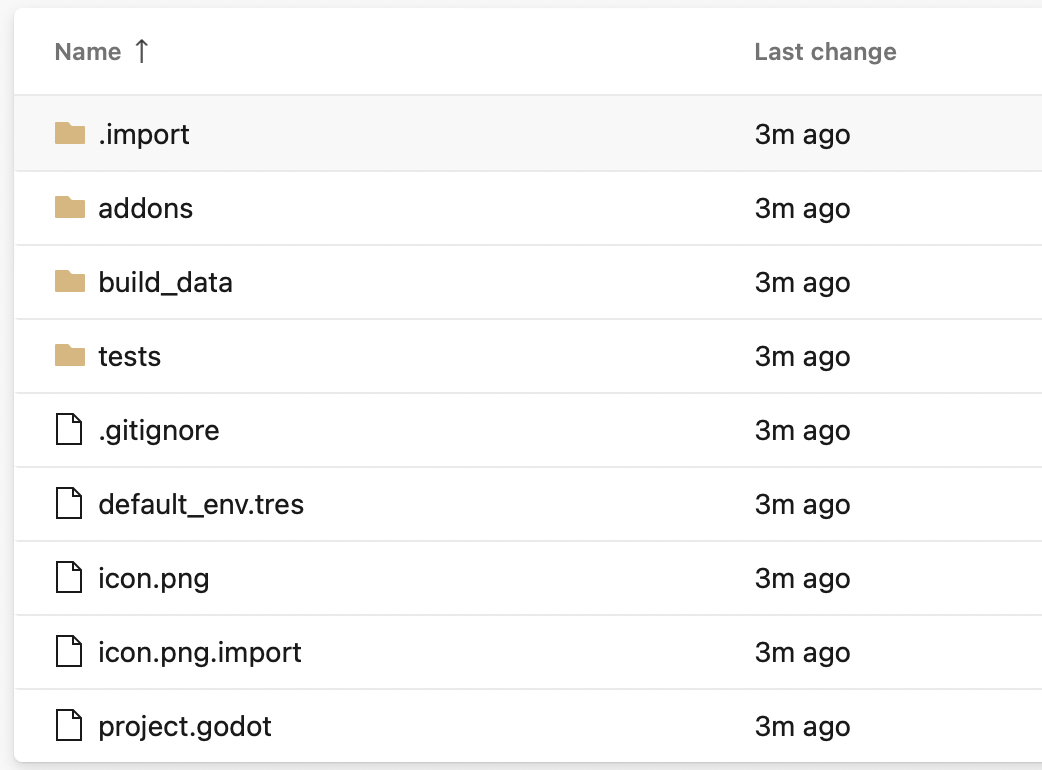
Once the project is created, the code will need to be added to the repository in pipelines. Go to repos > Files and follow the instructions to import the code from the last step into Azure Repos. After that the files should look something like this:
Got to Pipelines > Pipelines
Select “Create Pipelines”, then select “Azure Repos Git”, then select “Existing Azure Pipelines YAML”
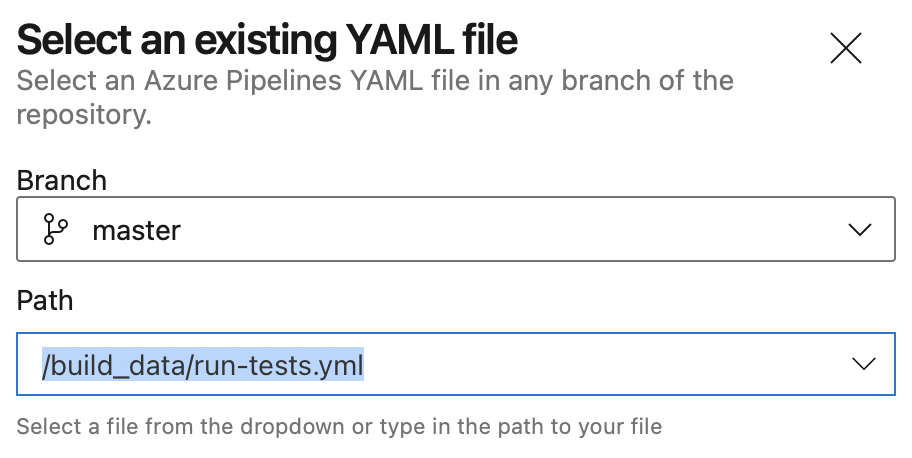
After that select the file created in the previous step, and you should see the code that was copied earlier
Click Run in the top right and then the pipeline will start execution. After waiting a couple of minutes, you will see this screen which will show that the pipeline ran successfully. To see the results of the tests, click the 100% tests passed under Tests and Coverage
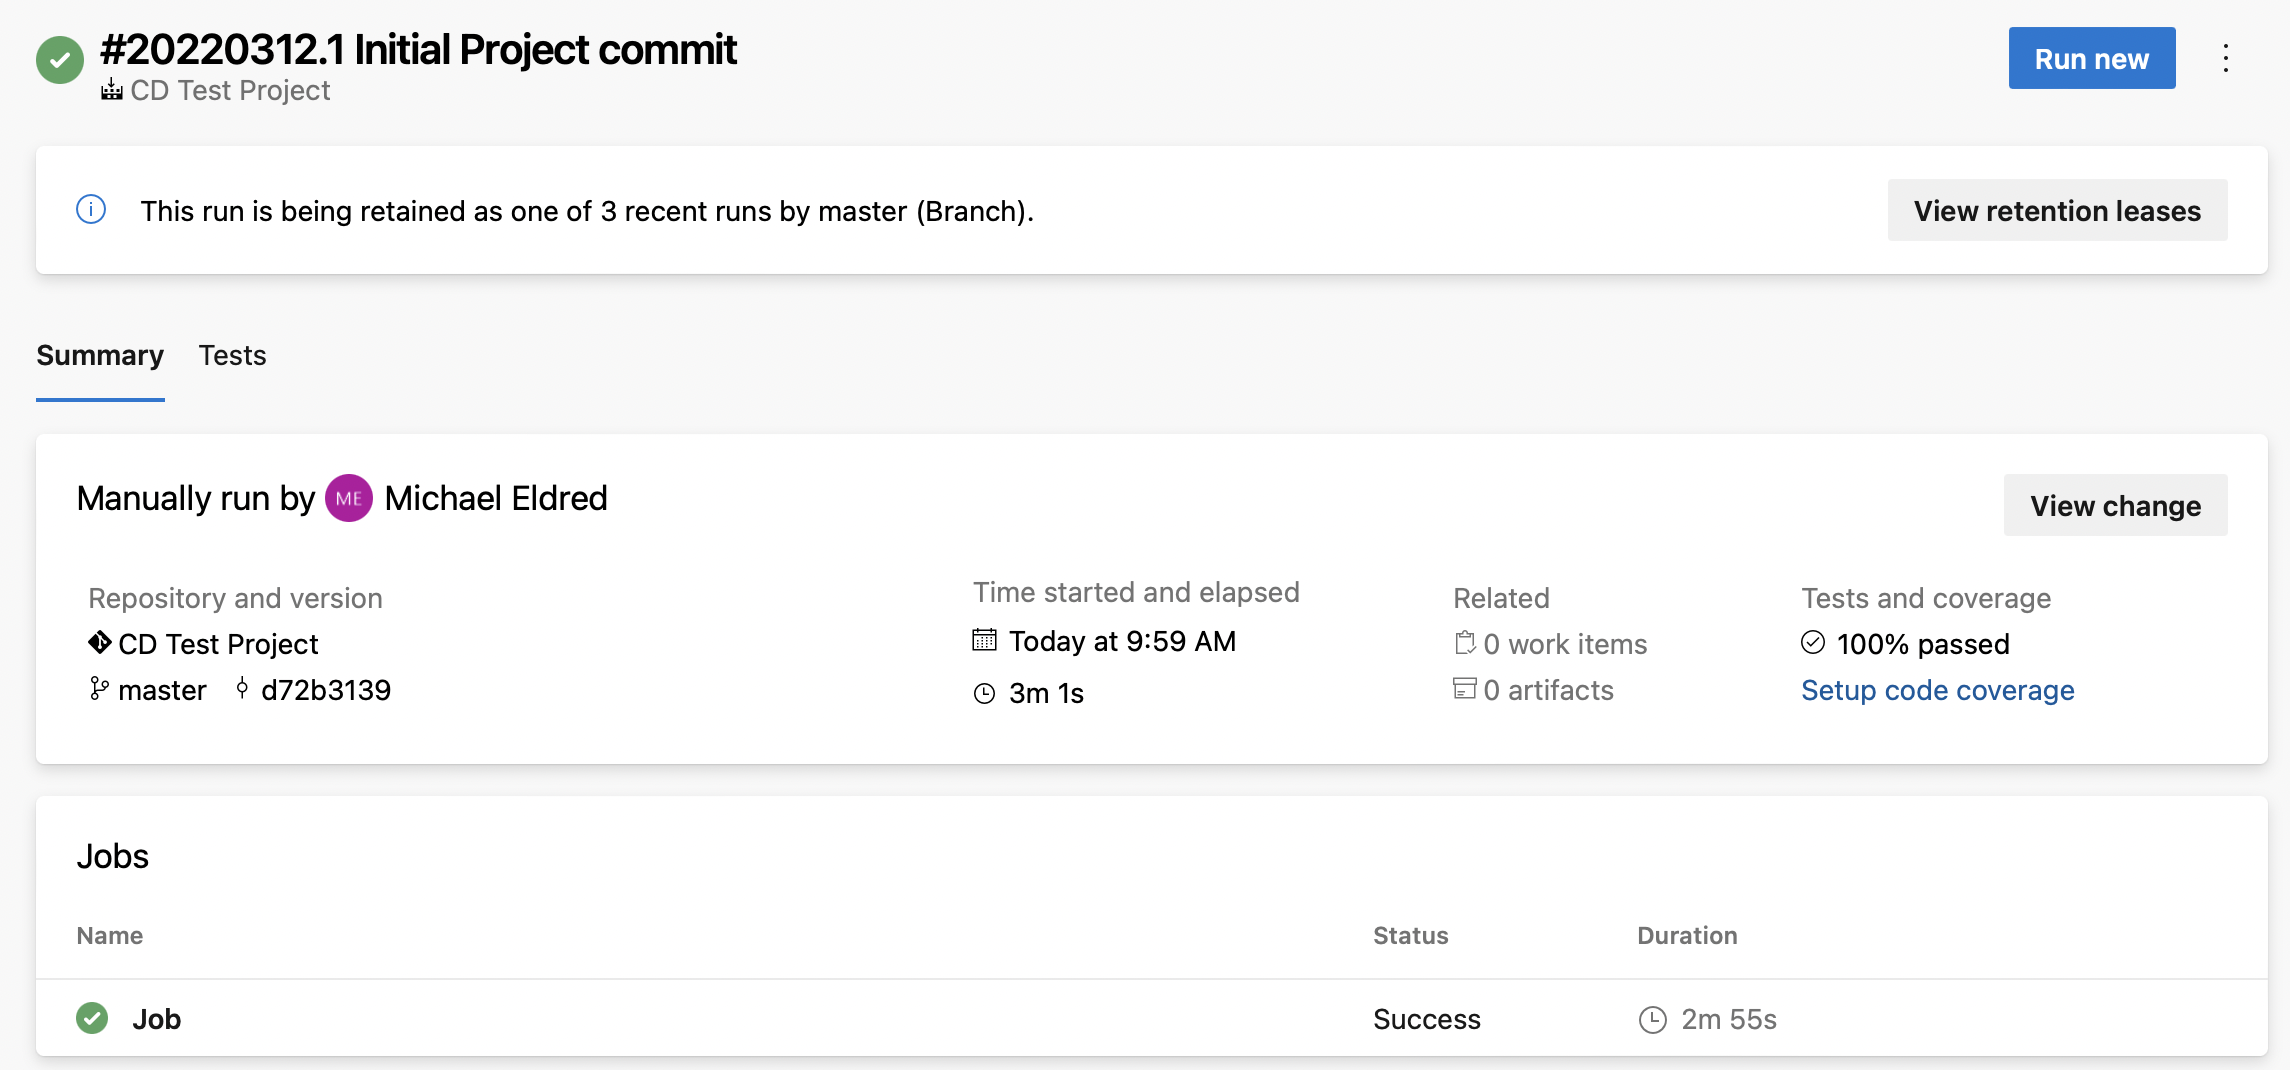
Once finished, you have a basic project that automatically runs tests on every push to Azure Devops.
The finished project can be found here
In part 2, we will Build an iOS app and deploy to App Store